
We have all walked into a room and thought “I need to re-paint”. The problem, as we all know, is following through. We are going to talk you through a simple project first to get you informed and motivated.
Here is a disclaimer right off the top: don’t use something like repainting your whole house as your first project! There are professionals for that. If you are looking for some recommendations, give us a call and we can steer you toward some painters that we know will get the job done right.
We are going to start with a relatively easy project, a half bath. You know that one, it might be under the stairs in your living room, or in-between the guest rooms, either way it is probably the smallest room in your house and the easiest one to get your feet wet in painting.
Part One: A clean sweep
The very first thing that has to happen is cleaning. Most people don’t realize how grimy walls can get. We wipe them down during our annual spring clean or if we see obvious spots, but when was the last time you really scrubbed your walls? What you need to get the job done will depend on the surface, how long it’s been since it was really cleaned, and how much sweat equity you want to put into the process. Let us know what the surface is made of that you are cleaning and our Helpful hardware people can recommend the right product for your walls.
Speaking of safety don’t forget:
-Gloves-mask-eye protection-knee pads
Part Two: fix those flaws
The wall is clean, but now you see all those holes from when you thought drunk bathroom darts was a good idea. We need to fix them before we go any farther. If you are painting drywall then you can use a little spackle to fill those holes. If you have larger holes in your drywall you will need some mesh and some drywall patch along with your spackle knife. Don’t worry though, we sell handy-dandy drywall patch kits. However, if the hole is the result of that time you heard something in the walls and tore the whole wall apart you should call a contractor.
Spackle equipment
-Spackle-gloves-spackle knife-mesh-drywall patch
Now is also a good time to be looking for things like dry rot, termites, mouse holes, broken molding, and mold. Do not try to paint over these things it will be a wasted effort.
Molding is a relatively easy thing to replace, and can really modernize an older wall, or make a modern wall look antiqued. You can even make the walls of your *ahem* throne room castle-like with some dental molding, and an easy faux stone technique.
Mold needs to be taken care of right away. Bathrooms are really prone to mold and as such it is important to tell us when you are painting a bathroom so that we can add the mold inhibitor into the paint. If you still see mold after you have cleaned, you will need to bleach it to kill the mold. Remember that bleach is harsh on your lungs, keep that bathroom fan on, open all windows and doors, and wear a respirator!
Part Three: Carefully colorful
Okay, now you have nice clean, repaired walls. It’s time to get your color selected. We are painting a small space and the traditional wisdom says to paint it a light color to make the space feel bigger. It is also a bathroom which usually means finishing with a gloss paint to help shed the moisture. As to picking a color? Color psychology and color theory are real schools of academics, and we have taken classes in them for years without full mastery, we do know one thing for sure: color, like all things when it comes to humans, is a personal choice.
Here are some questions to think about when you are picking colors:
–What do you personally like? If you hate the color brown then no matter how calming or chic that mocha colored paint is, you will not enjoy being in that room.
–What do the furniture/fixtures look like? If everything is in a rich rubbed brass, a yellow is just going to look garish.
–Are there a lot of soft good? Do you want to stay with the colors of these items that you have now? Soft goods are things made of fabric, in a bathroom there are hand towels, bath towels, bath mats, shower curtains, and window curtains that can all be present. If staying with what you have then it will probably be best not to paint in a shade too different than what is on the walls. If you want to modernize to say Bright green soft goods, then know that painting the walls any shade of red will make your bathroom look like Santa lives there.
–Do you want the walls all one color? This is not as straight forward of a question as it might seem. There is the obvious answer of yes, just paint all four walls the same, but if you have molding you might want to paint the molding in a contrasting color. Another way to make a room look bigger is to paint the main walls a darker shade and the molding and ceiling a much lighter shade. You can also do stenciling, where you choose a complementary or contrasting color to your main color to make a design pop. There is also faux painting, this is what we were talking about above with making your bathroom look like a castle, faux stone painting is one of the easiest faux techniques as it can usually be done with as little as two colors and a sponge, but all faux techniques will require at least two colors if not three to look even passably realistic.
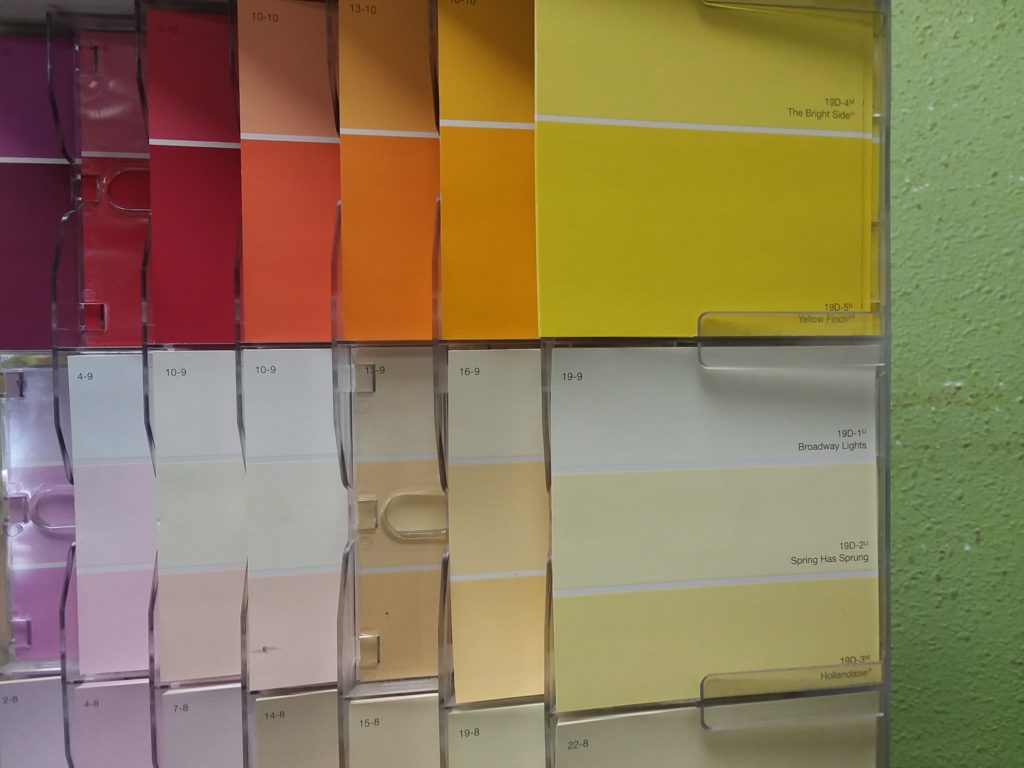
-Have you looked at all the color cards to see your options? We have a large quantity of color cards that will give you a sense of color families and how certain colors look together. We can also talk you through the color wheel to help you better understand how your choice of colors is going to look.
-Do you already have a specific color in mind? We can do color matching. For instance, if you have a favorite pillow that you want to match the walls, bring it in and we can make you paint the same color as your pillow.
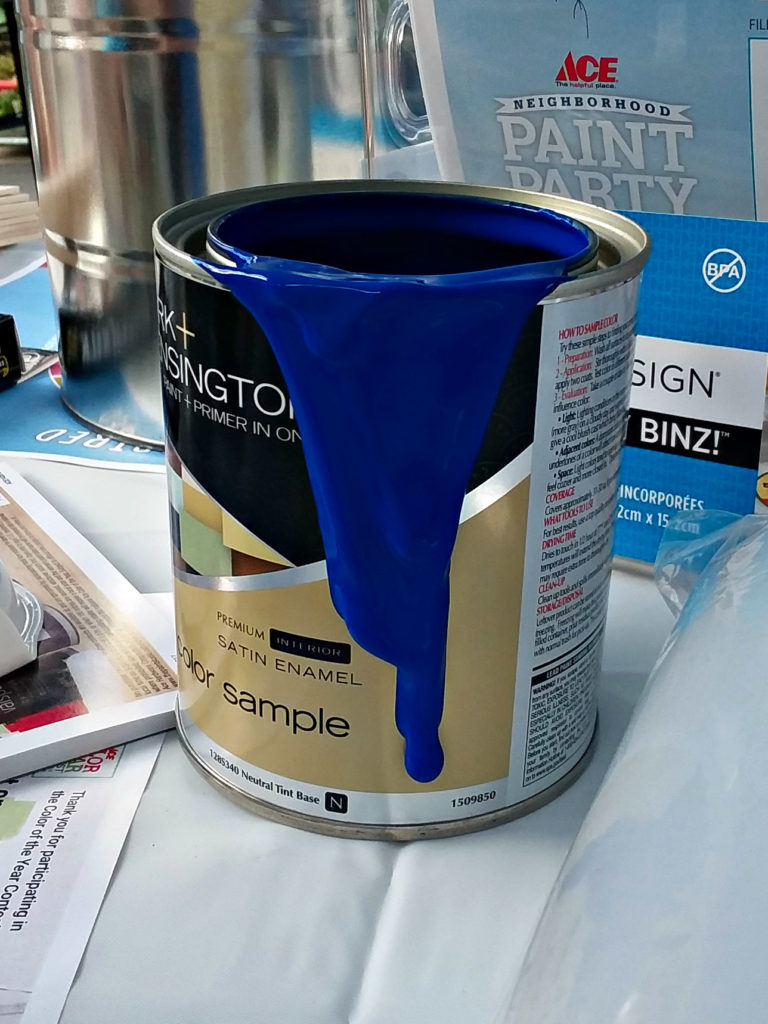
-like a tattoo, make sure you can live with the color you’ve chosen first. Once you have looked at the color cards and have chosen one or two colors that you think are what you want, ask for a sample quart. We refund the amount of the sample quart when you come back and buy a full gallon in that size.
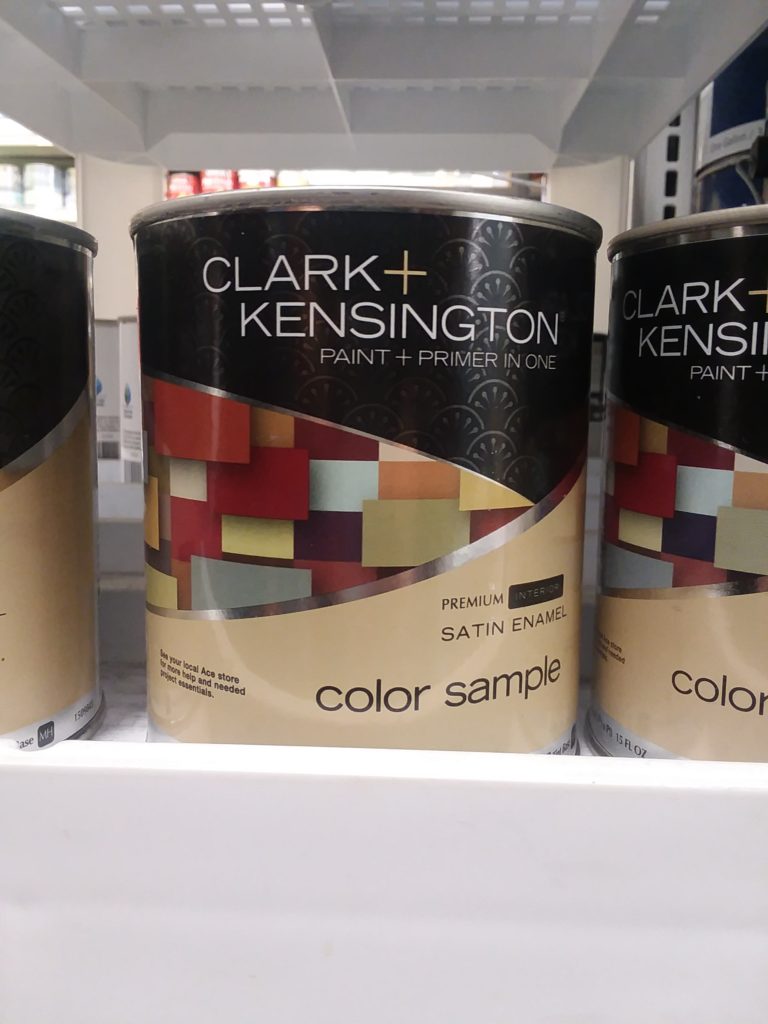
Once you have your sample quart and a few brushes, go home and paint a fairly large square, about the size of a piece of paper. If you are going to be using a base coat (not usually necessary, but let us know if the walls you are painting are currently black or something similar) then also grab some base coat as well, the color will be different on a base coat than directly on the walls. Let the paint fully dry, wet paint looks very different from dry paint and the color in the can is not going to be the color on the walls. Once the paint is dry still give it about a week. Do you still like the color when you go in there? If so then it’s time to move on to actual painting!
Part Four: Calculating color
You are confident now in your color! That’s great! Now how much do you need? Remember when we all said that we would never use algebra out of school, well we were wrong. You need to know the square footage that you are going to be painting. We can help you guess, but without actual square footage that is all it will be and we want to serve you better than that. Remember that houses are rarely “standard”. Never fear, this is basic math:
To find the sq. footage of a wall use this equation:
Length (the measurement in feet along the horizontal plane of the wall) X Height (the measurement in feet along the vertical plane of the wall) = Square footage.
To find the total sq footage of all four walls you just add the answers from above. For instance, let’s assume that there are no windows, and that we are painting the door the same color. So we measure length and width of our smaller walls to be this:
3’X8’=24ft2
The bigger walls are:
6’x8’=48ft2
We have two wall of each size so to get our total we just add like this:
24+24+48+48=144ft2
Okay, now we know our square footage, just bring that number in and we can help you choose the right amount of paint.
Part Five: Taping out
So, you are buying paint, but what about tape, drop cloths, brushes, rollers, and paint trays? Think you don’t need them? Think again.
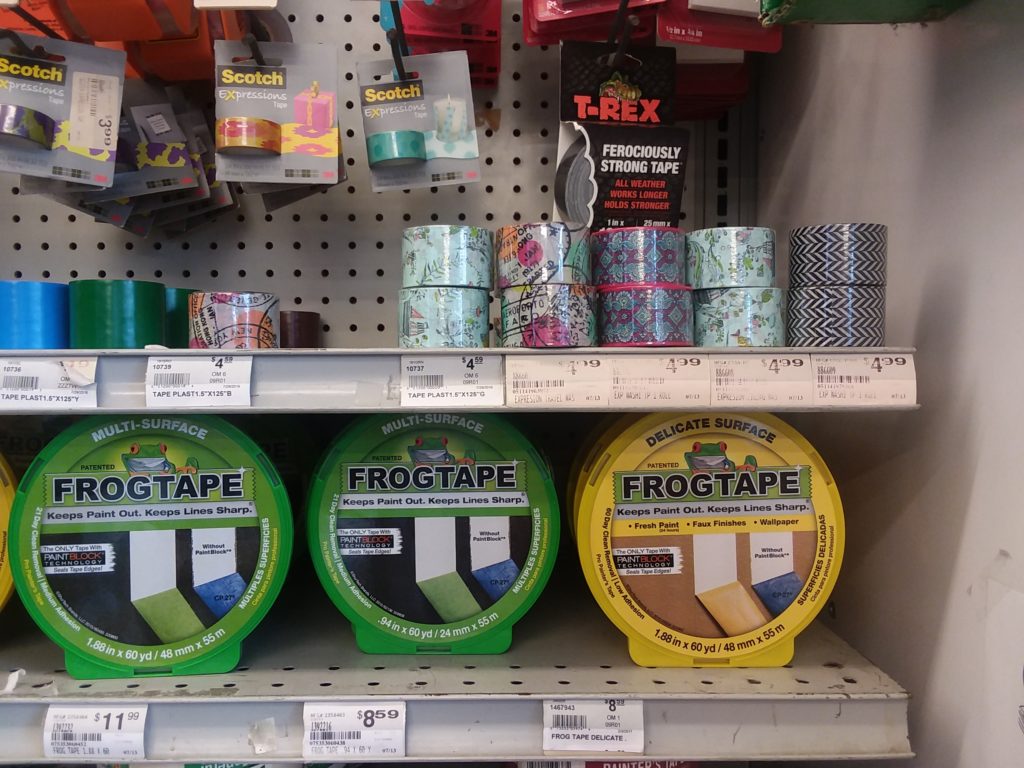
Tape: Unless you literally want everything in the room this color of paint (including your mirrors and doors) then you need tape. For a larger item like a window, the easiest thing is to tape a drop cloth over it and then make the edge tight with a good painting tape. There is the traditional blue painting tape that we all know, and it works just fine. It comes off easily and it won’t take your new paint with it. But it is less secure than you might want if you are painting exact lines, or are really worried about your light switch getting paint on it. In that case you should splurge for either the frog tape or the snot tape. Both of these have a gel adhesive that does not become active until near liquid. The presence of the paint activates this extra barrier which keeps paint from penetrating anywhere under the tape.
Drop cloths: As we said before these are useful for protecting large items like windows and even larger items like floors. The best thing in a small room, is just get a cloth big enough for the whole room and securely tape it to the bottom of the walls.
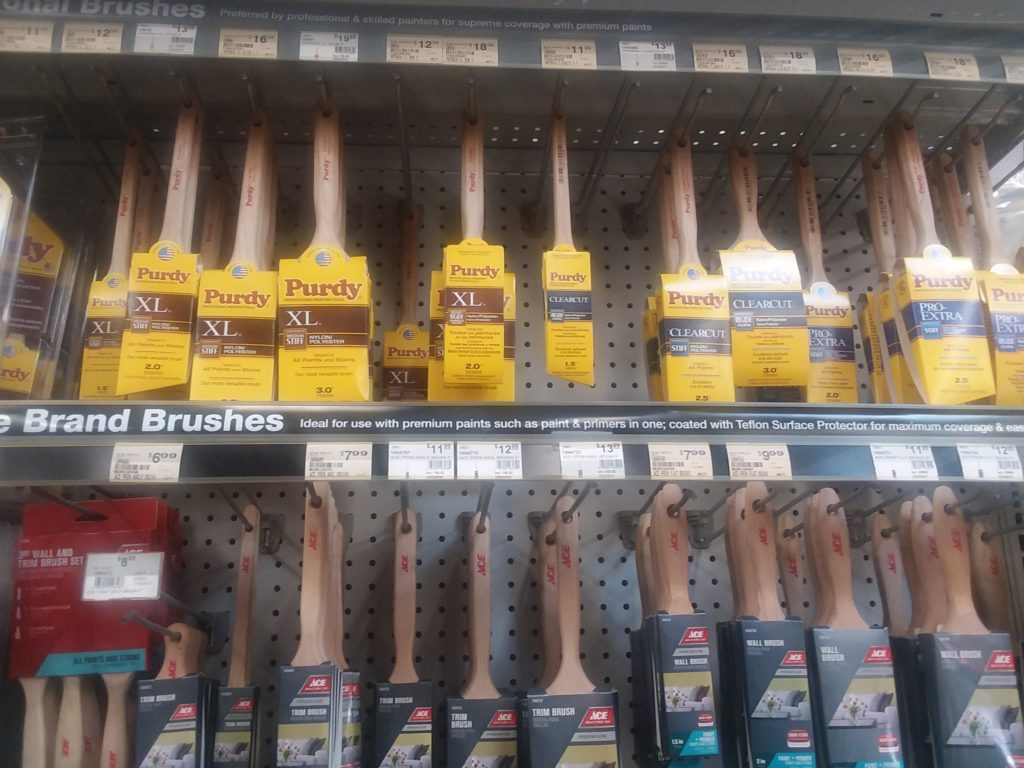
Brushes: Most people doing a paint project will just buy the cheapest brush and throw it away when they are done. Don’t be those people. Not only is it wasteful, but an uncleaned brush puts tons of toxins into the environment. If you think that you are going to go beyond our sample project buy good brushes and take care of them. We like Purdy brand brushes. They hold paint well, hold their shape well, and when you take care of them will last for years. If you don’t want to clean out your brush completely at the end of the day, you can always use a brush baggy. These disposable brush savers will keep the paint fresh and useable for up to two weeks, perfect for touch ups after all the paint has dried.
Rollers: In our tiny bathroom, you might not need rollers but if you are doing anything bigger then rollers are a life and wrist saver. As with brushes, rollers come in various levels of quality. They also come in different materials to accommodate different surface types. This is a case of the more information the better, let us know the surface and size being painted and what type of paint that you are using to help us make sure that you have the right roller for the job.
Paint trays: Even if you are not using a roller, a paint tray and liner makes the paint easier to access. A onetime use liner makes for faster cleanup, but is not required, if you are willing to clean out the extra paint in your tray every night.
Paint key and stir stick: Yes, you can open the can with a screwdriver or something similar, and really anything that you don’t care about can be used to stir the paint, but a paint key is meant to open the can with little damage to the lid so you can reseal it, and a stir stick is free so you might as well ask for one and not ruin your favorite spatula. By the way, even though we shake the paint thoroughly, we do recommend that you stir it a couple of times before you use it in case of any settling. – Side note yes, you can use a paint key as a bottle opener, no we do not recommend it, yes, we have been the person driving someone to the hospital because of this.
Part Six: Now can we paint?
Yes, now we can paint. Tape everything up, cover things with your drop clothes, pour your paint into a tray and paint away. Some things to remember though,
-paint is toxic, respirators are a must.
-Paint dries better in dry heat, so if you have a dehumidifier, now is the time to whip it out.
-Paint in even strokes, to minimize spotting, and unless you have a weird fetish for paint drips, paint from the top down.
-Put on a full coat and then wait. Resist the urge to go back over anything while your first coat is still wet.
Ace paint is meant to be a one coat, no base needed, paint, and it does a great job at that, but not every bathroom wall is the same, and not every drip gets caught. The upshot is that you need to let the room fully dry at least overnight, to make sure that you can see if there are any spots that need a touch up. Here is a tip about checking for spots, use the brightest light you have, don’t rely on the light in the room, bring in a high lumen flashlight and shine it over the walls, that way places where the paint is thinner you will be able to see now, while it is easy to fix, and not in 3 months when it just annoys you every time you go in there.
Part Seven: Cleaning again?
Yes, now the room is painted, we need to clean up. This seems self-evident but you need to know that leftover paint is a toxic substance and you cannot just throw it in your trash. You should also try and keep a little bit of the paint (we sell containers for this) in case you need to mend a hole later on. It is easier to match paint if you have the original.
Hopefully we did our math right and you only have a very small amount of paint left, but sometimes we know that doesn’t happen. In that case you will either need to take the paint to a paint recycling center, or there are special drying agents, that you pour into the leftover paint which hardens it and makes it inert.
If you decide to keep the paint in the can, make sure that the lid is secure. We use a rubber mallet to make a secure connection. If your lid got damaged when you were prying it open, we also sell new lids. The goal is to keep oxygen out of your paint. If you re-open paint and it smells like vinegar or worse (trust us we have smelled some pretty rancid paint) it has gone bad and you should not use it.
There you have it a freshly painted spare bathroom, that you will probably never use, but your guests will marvel at your painting skills, so that’s a win for everyone!
p.s. for more tips and tricks check out our Pinterest page!